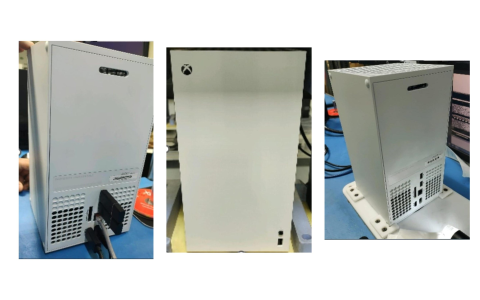
Okay, so, I’ve been wanting to change up the look of my Xbox Series S for a while now. The plain white was getting a little boring, you know? I saw some folks online doing full case replacements and thought, “Why not give it a shot?” I’m not exactly a tech wizard, but I figured I could handle it. Plus, I really wanted my console to stand out a bit more.
First thing I did was hop online and search for replacement cases. I found a few options, but I ended up going with a sleek, matte black one. It just looked so much cooler than the standard white. It arrived in a couple of days, and I was super stoked to get started. Man, I was like a kid on Christmas morning!
I cleared off my desk, grabbed my tools – basically just a couple of screwdrivers and a plastic pry tool – and laid out the new case. I also pulled up a video tutorial on my phone, just to make sure I didn’t mess anything up too badly. Better safe than sorry, right?
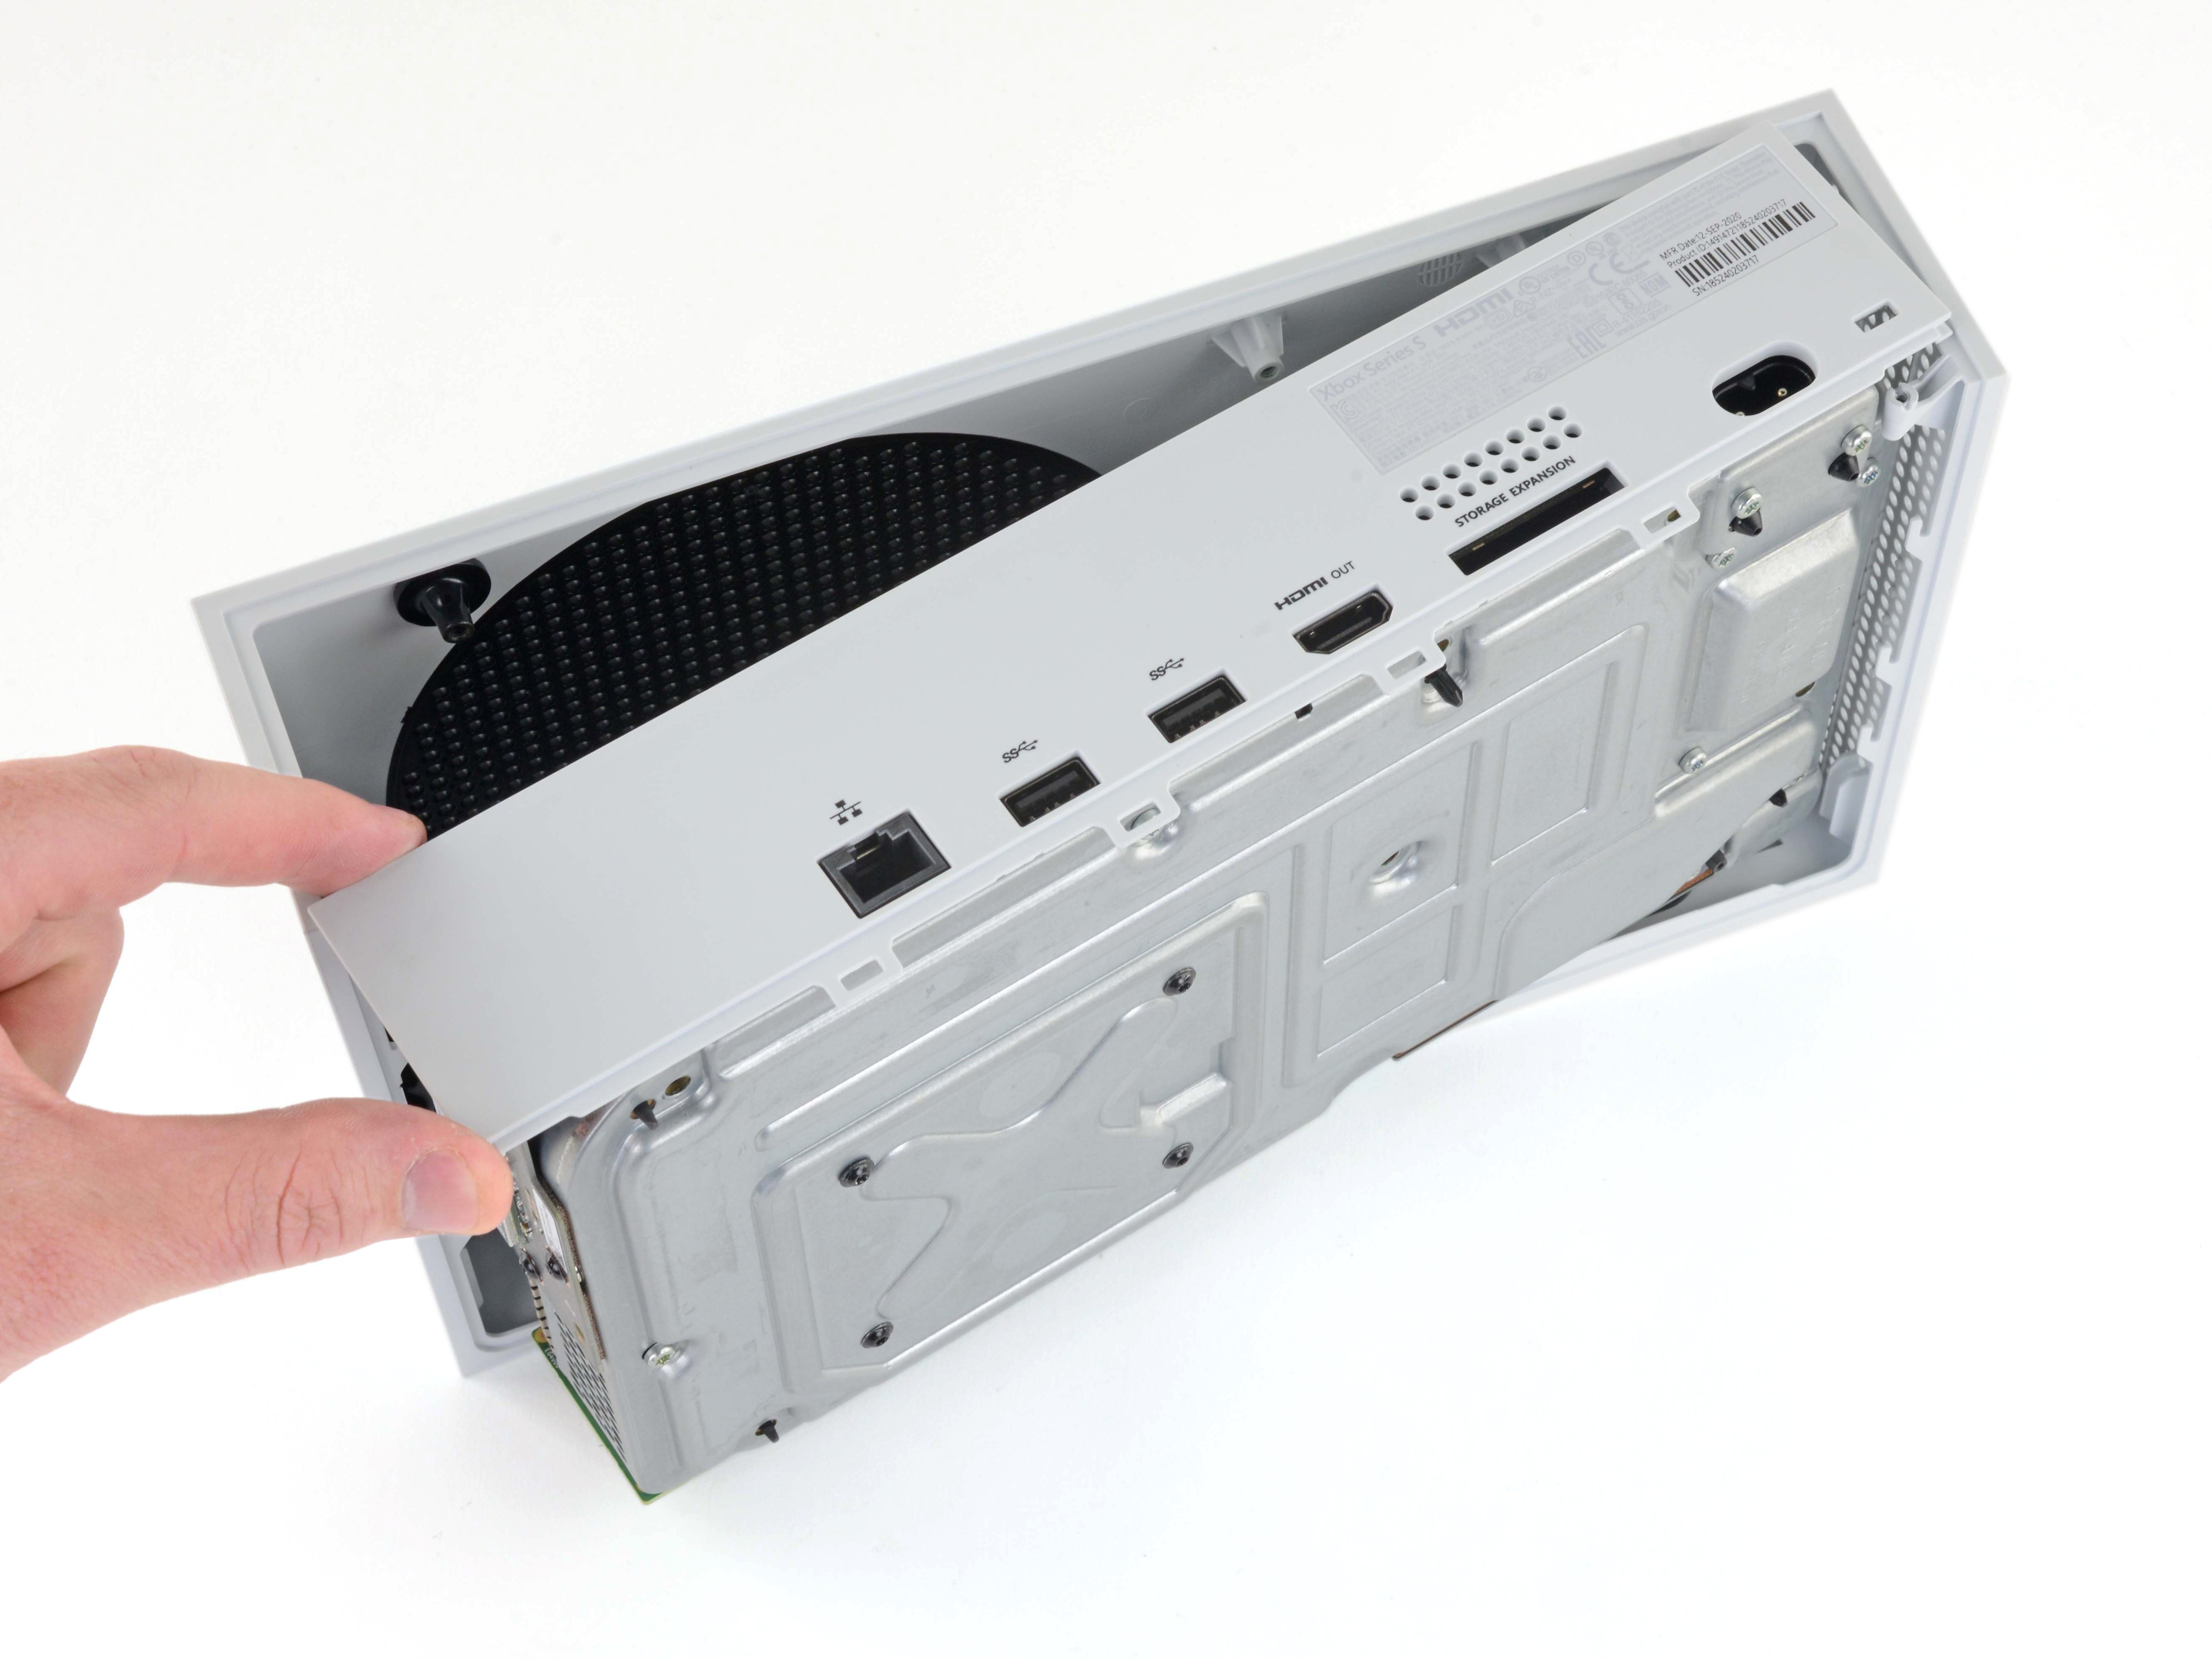
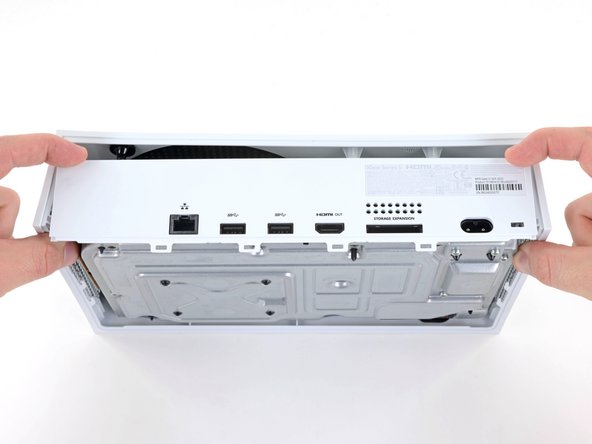
The first step was taking off the bottom cover of the Xbox. This was pretty easy, just a few screws and it popped right off. Next, I had to unplug a bunch of cables from the motherboard. They were all different sizes, so it was easy to remember where they went. I took some photos before unplugging just in case.
- Unplugging the power supply cable.
- Disconnecting the fan cable.
- Carefully detaching the Wi-Fi board cable.
- Removing other data cables one by one.
Then came the tricky part – removing the motherboard itself. It was held in place by several screws, some of them kinda hidden. I had to be careful not to strip them. I almost messed up one but luckily fixed it. Once the screws were out, the motherboard lifted out pretty easily. I had to unplug one or two other cables along the way, but it was all pretty straightforward.
After that, it was just a matter of removing the power supply, the fan, and a few other components, and transferring them to the new case. It was a bit like putting together a puzzle, but it all fit together nicely. I just had to push the pieces in slightly. It was actually kind of fun!
Once everything was in the new case, I put the motherboard back in, screwed it down, and reconnected all the cables. This part took a bit longer, just making sure everything was plugged in correctly and securely. No room for mistakes here!
Finally, I put the top cover of the new case on, screwed it in, and stepped back to admire my work. Man, it looked awesome! The matte black finish was even better in person. I immediately connected it and started a game. It was working perfectly.
A few things I learned
- Take your time: Don’t rush through it, especially when removing screws and unplugging cables.
- Use the right tools: Having the right screwdrivers and a pry tool makes things much easier.
- Watch a tutorial: Even if you think you know what you’re doing, it’s always a good idea to follow along with a video.
- Take photos during the process: They are really helpful when you need to reassemble everything.
Overall, I’m super happy with how it turned out. It wasn’t as hard as I thought it would be, and my Xbox looks way cooler now. If you’re thinking about doing a case replacement, I say go for it! Just be patient, take your time, and you’ll be fine. It’s totally worth it!


