Okay, folks, let’s dive into my little project of customizing some pink Jordans. It wasn’t super complicated, but it did take some time and patience.
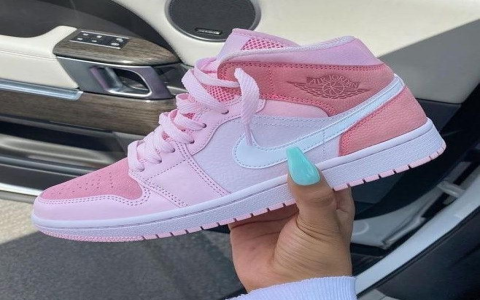
First, I grabbed a pair of plain white Jordan 1 Mids. You gotta start with a clean canvas, right? I made sure they were the right size and everything, obviously. Wouldn’t want to go through all this trouble for shoes that don’t fit!
Then, I went online and ordered some Angelus leather paint. I picked out a couple of shades of pink – a lighter one for the base and a slightly darker, more vibrant one for some accents. I also got a finisher, some brushes, and masking tape. Don’t skimp on the supplies, it makes a difference.
The Prep Work
This is probably the most boring but also the most crucial part. I cleaned the shoes thoroughly with some leather preparer and deglazer. This removes any factory finish and helps the paint stick better. I used cotton balls for this, making sure to get into all the nooks and crannies.
Next, I taped off all the areas I didn’t want to paint – the soles, the logos, etc. This took the longest, honestly. You gotta be precise, or you’ll end up with pink paint where it shouldn’t be. I used an X-Acto knife to trim the tape and get really clean lines.
Painting Time!
Finally, the fun part! I started with the lighter pink, applying thin, even coats. The key here is patience. Don’t try to get full coverage in one go. It’s better to do multiple thin coats than one thick, gloppy one. I let each coat dry completely before applying the next. This took a few hours, with me doing other stuff in between.
- First coat: Thin and streaky, no worries.
- Second coat: Starting to look better, still a bit see-through.
- Third coat: Pretty much solid, just making sure it’s even.
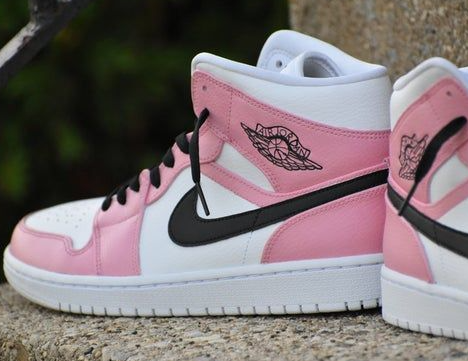
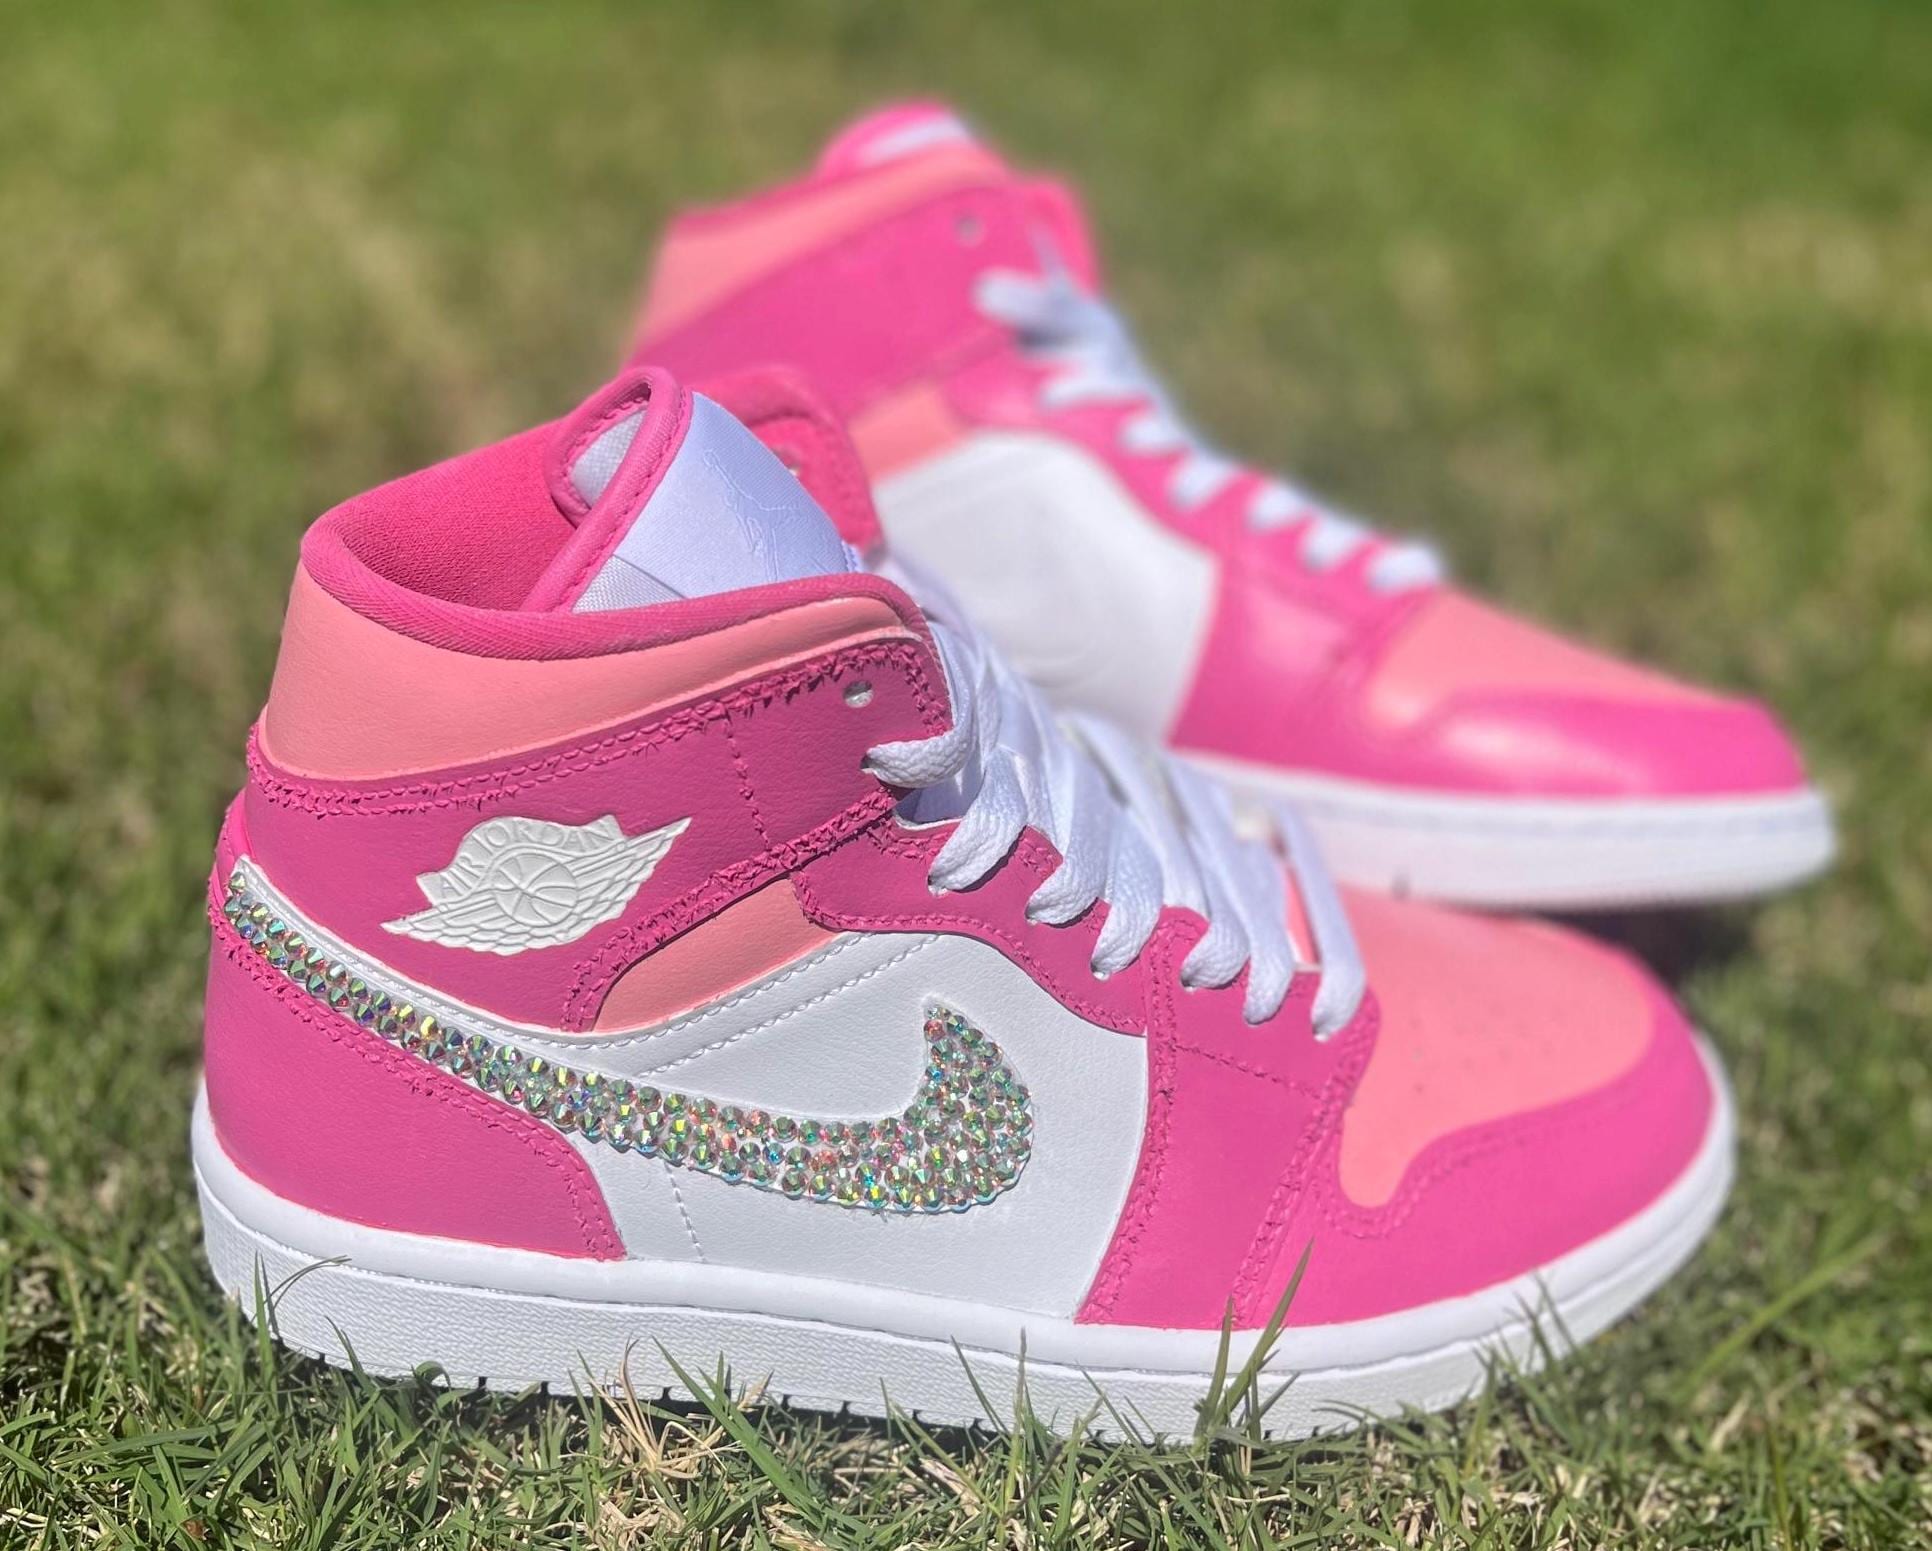
Once the base color was done and completely dry (I waited a full day, just to be safe), I went in with the darker pink and added some accents on the swoosh,and around the ankle. I freehanded this part, but you could use stencils if you’re not confident.
Finishing Touches
After the accent color was dry, I applied a couple of coats of the Angelus finisher. This protects the paint and gives it a nice, even sheen. I chose a matte finisher because I didn’t want them too shiny.
Finally, I removed all the tape, and boom! Custom pink Jordans. It was a bit of a process, but totally worth it. They look awesome, and I get compliments all the time. Plus, it’s kinda cool to say you made them yourself, you know?
It a good diy project for everyone!


