Okay, so today I’m gonna walk you through this little side project I messed around with – a Halo emblem generator. It was way simpler than I thought it would be, and honestly, kinda fun.
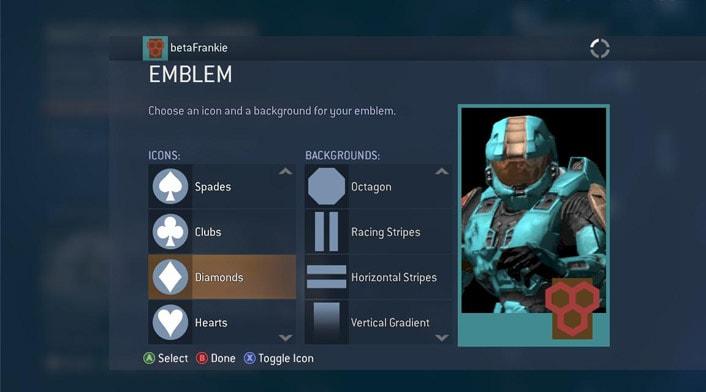
First off, I got the idea randomly scrolling through some forum, seeing people reminiscing about custom emblems in Halo Reach. Figured, “Hey, why not try and whip something up myself?” I’m no game dev or anything, just a dude who likes tinkering.
The Brainstorming Phase:
- I spent a bit of time just figuring out what the core functionality would be. I knew I wanted it to be web-based. Easier to share, y’know?
- I looked at a bunch of existing emblem creators (mostly for inspiration, not copying!). Saw a common theme: layers, shapes, colors, maybe some text. Got it.
- I started REALLY simple. Just a canvas, a dropdown for shapes (circle, square, triangle… the basics), and a color picker.
Diving into Code (the messy part):
I decided to use HTML, CSS, and Javascript. Old school, I know, but it gets the job done.
- HTML: Set up the basic structure. A canvas element for the emblem, some input fields for controls (dropdowns, color pickers), and a button to “generate” the emblem. Pretty straightforward.
- CSS: Made things look… not terrible. Basic styling, positioning of elements. No fancy animations or anything. Just needed it to be functional.
- Javascript: This is where the magic (or, uh, the attempt at magic) happened.
- I grabbed the canvas element and got its 2D rendering context.
- I added event listeners to all the input fields. When a shape was selected, or a color was changed, the canvas would redraw.
- The core logic was drawing the shapes. Each shape had its own function (
drawCircle(),drawSquare(), etc.). These functions would take the selected color and draw the shape on the canvas at a default position. - Clearing the canvas before each redraw was KEY. Otherwise, you’d just get a bunch of overlapping shapes.
Adding Features (and Dealing with Bugs):
Okay, so the basic shapes were working. Time to make it more interesting.
- Layering: This was trickier. I ended up using an array to store the shapes, their colors, and their positions. The canvas would redraw each shape in the array, in order. This allowed you to draw shapes on top of each other.
- Positioning and Resizing: Added input fields for X and Y coordinates, and for width and height. Made it possible to move and resize the shapes. This also introduced a TON of bugs related to coordinate systems and offsets, which I spent hours debugging.
- Saving: Added a button to save the emblem as a PNG. This was surprisingly easy – just used the canvas’s
toDataURL()method.
The “Finished” Product (it’s never really finished):
After a weekend of hacking, I had a basic Halo emblem generator. It wasn’t perfect. It was buggy. The UI was clunky. But it worked! You could choose shapes, colors, position them, and save the result.
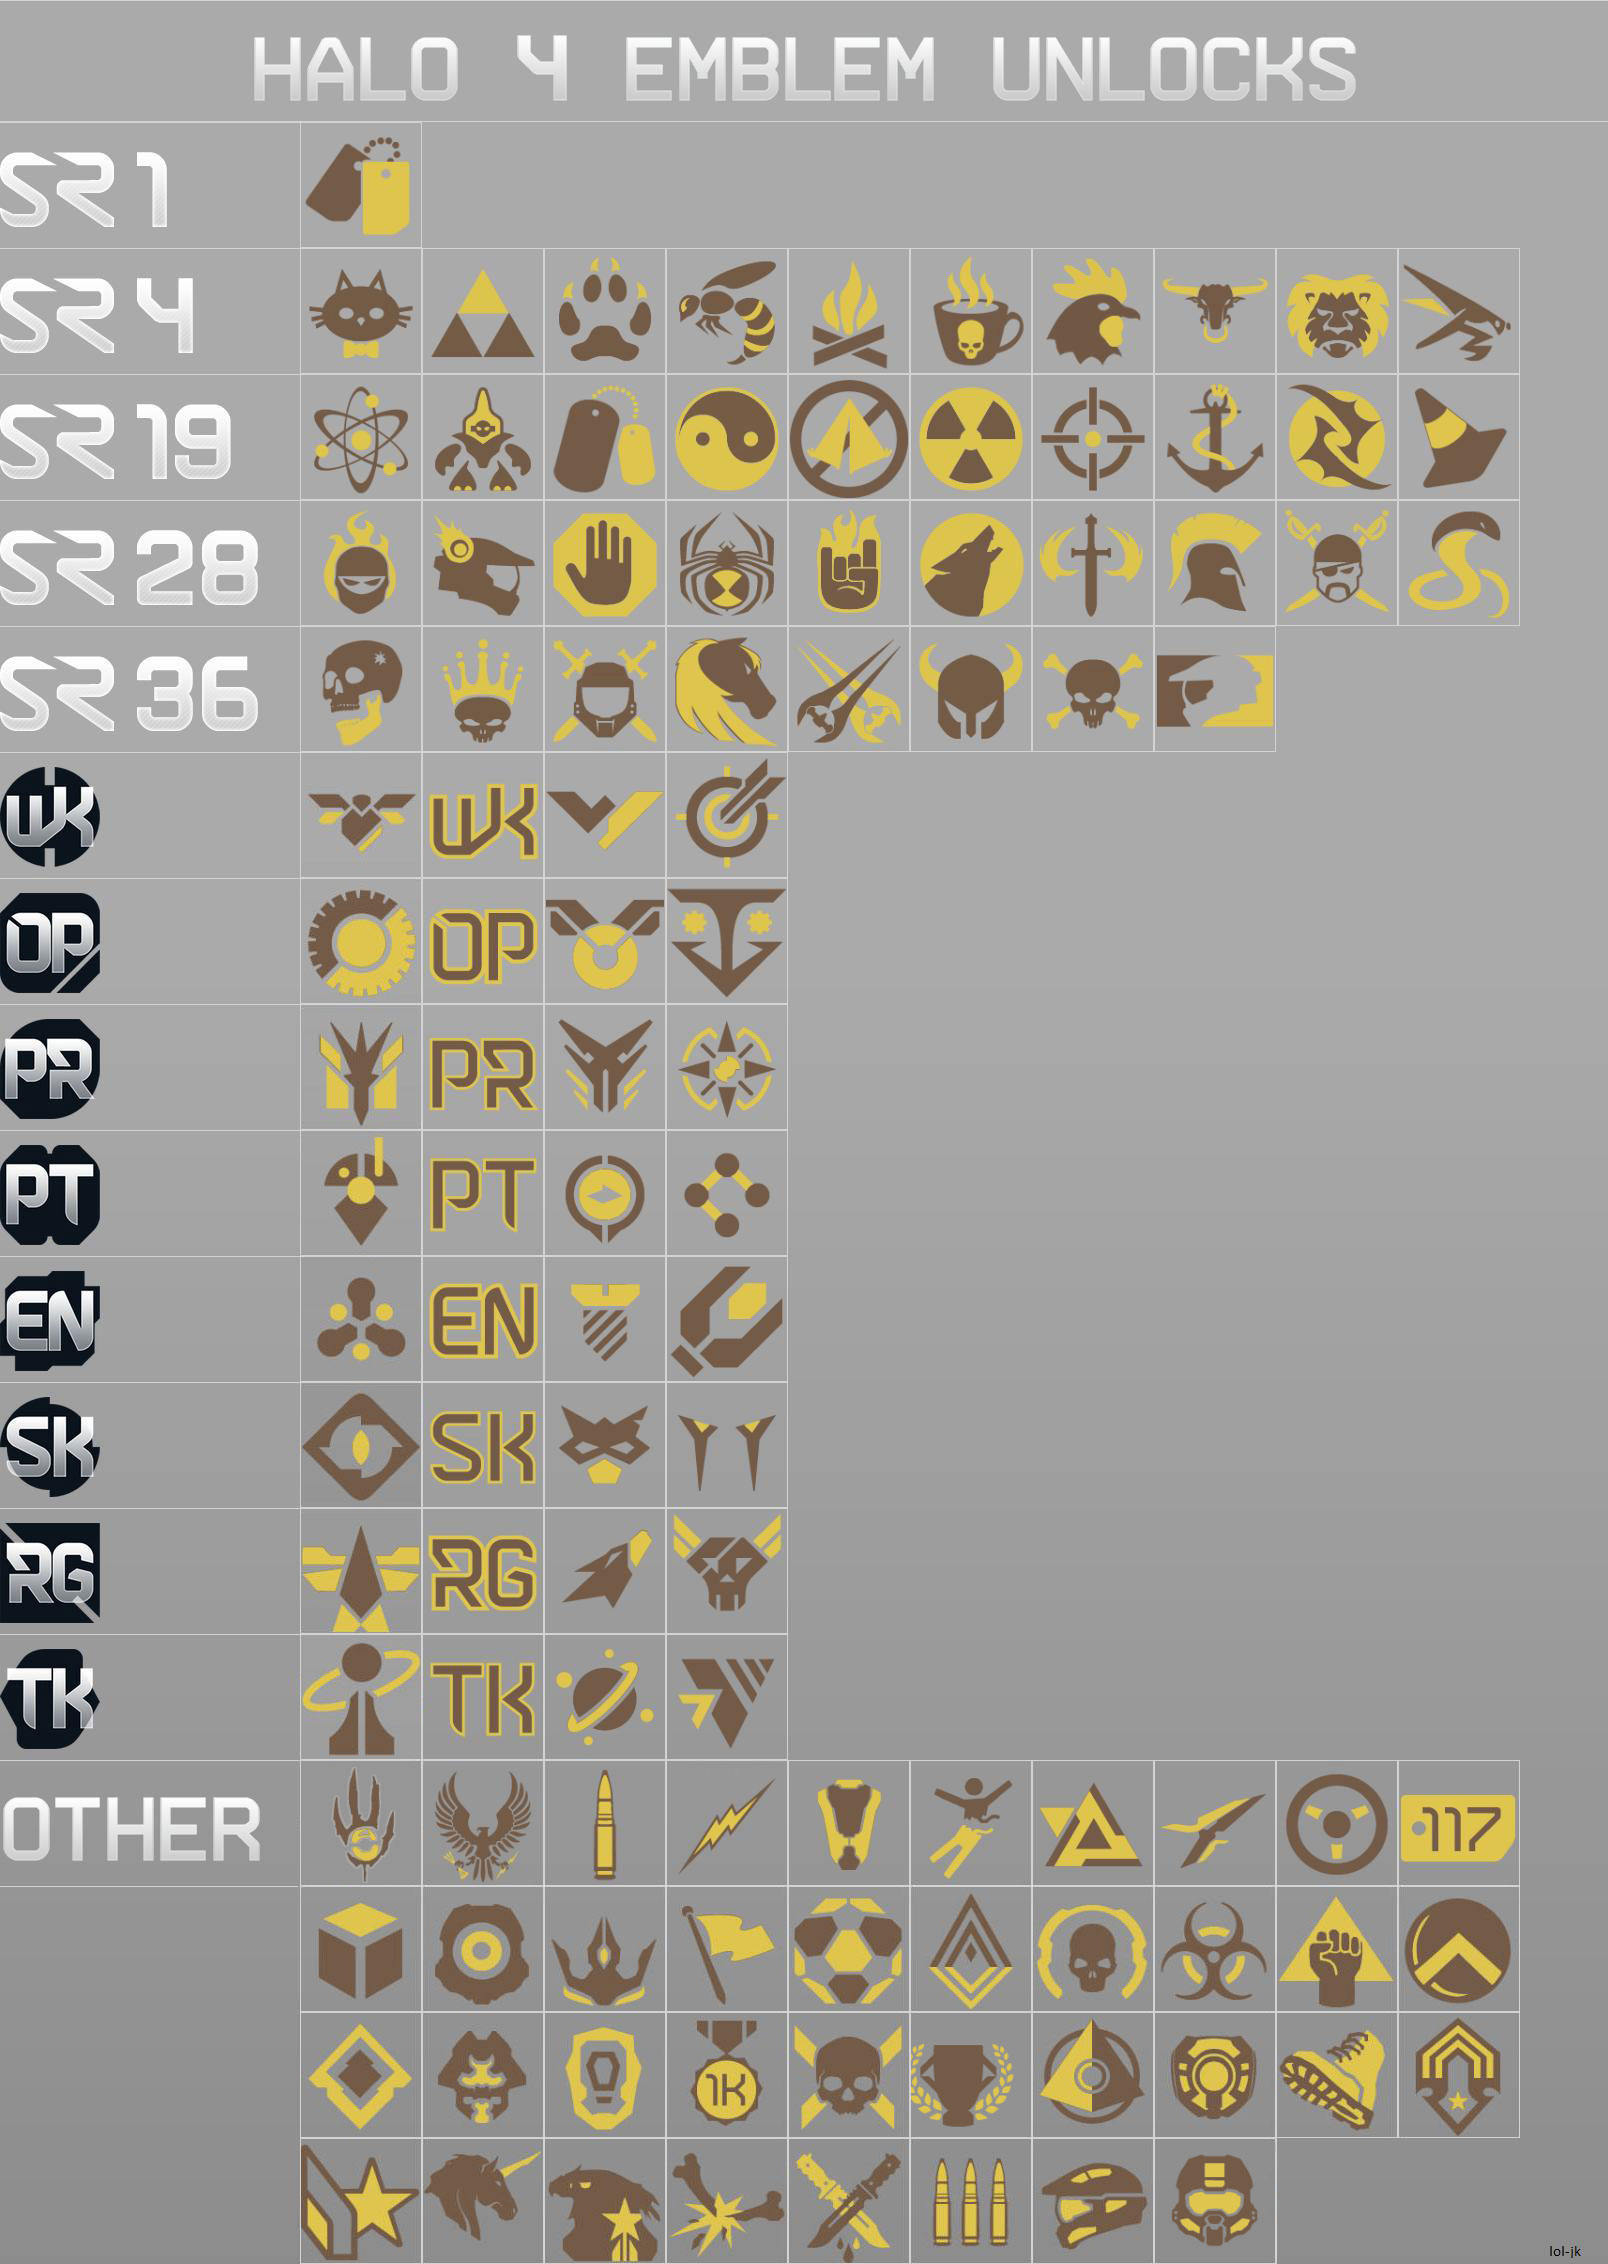
What I Learned
- Even simple projects can be surprisingly challenging. Little things like coordinate systems can trip you up.
- Breaking down the problem into smaller steps is crucial. Start with the basics, then add features incrementally.
- Debugging is a skill in itself. Learn to use your browser’s developer tools.
- Don’t be afraid to Google. Seriously, I probably spent half the time just searching for solutions.
Would I do it again? Absolutely. It was a fun little project, and I learned a lot in the process. Maybe I’ll even revisit it someday and add some more features. Who knows!

