
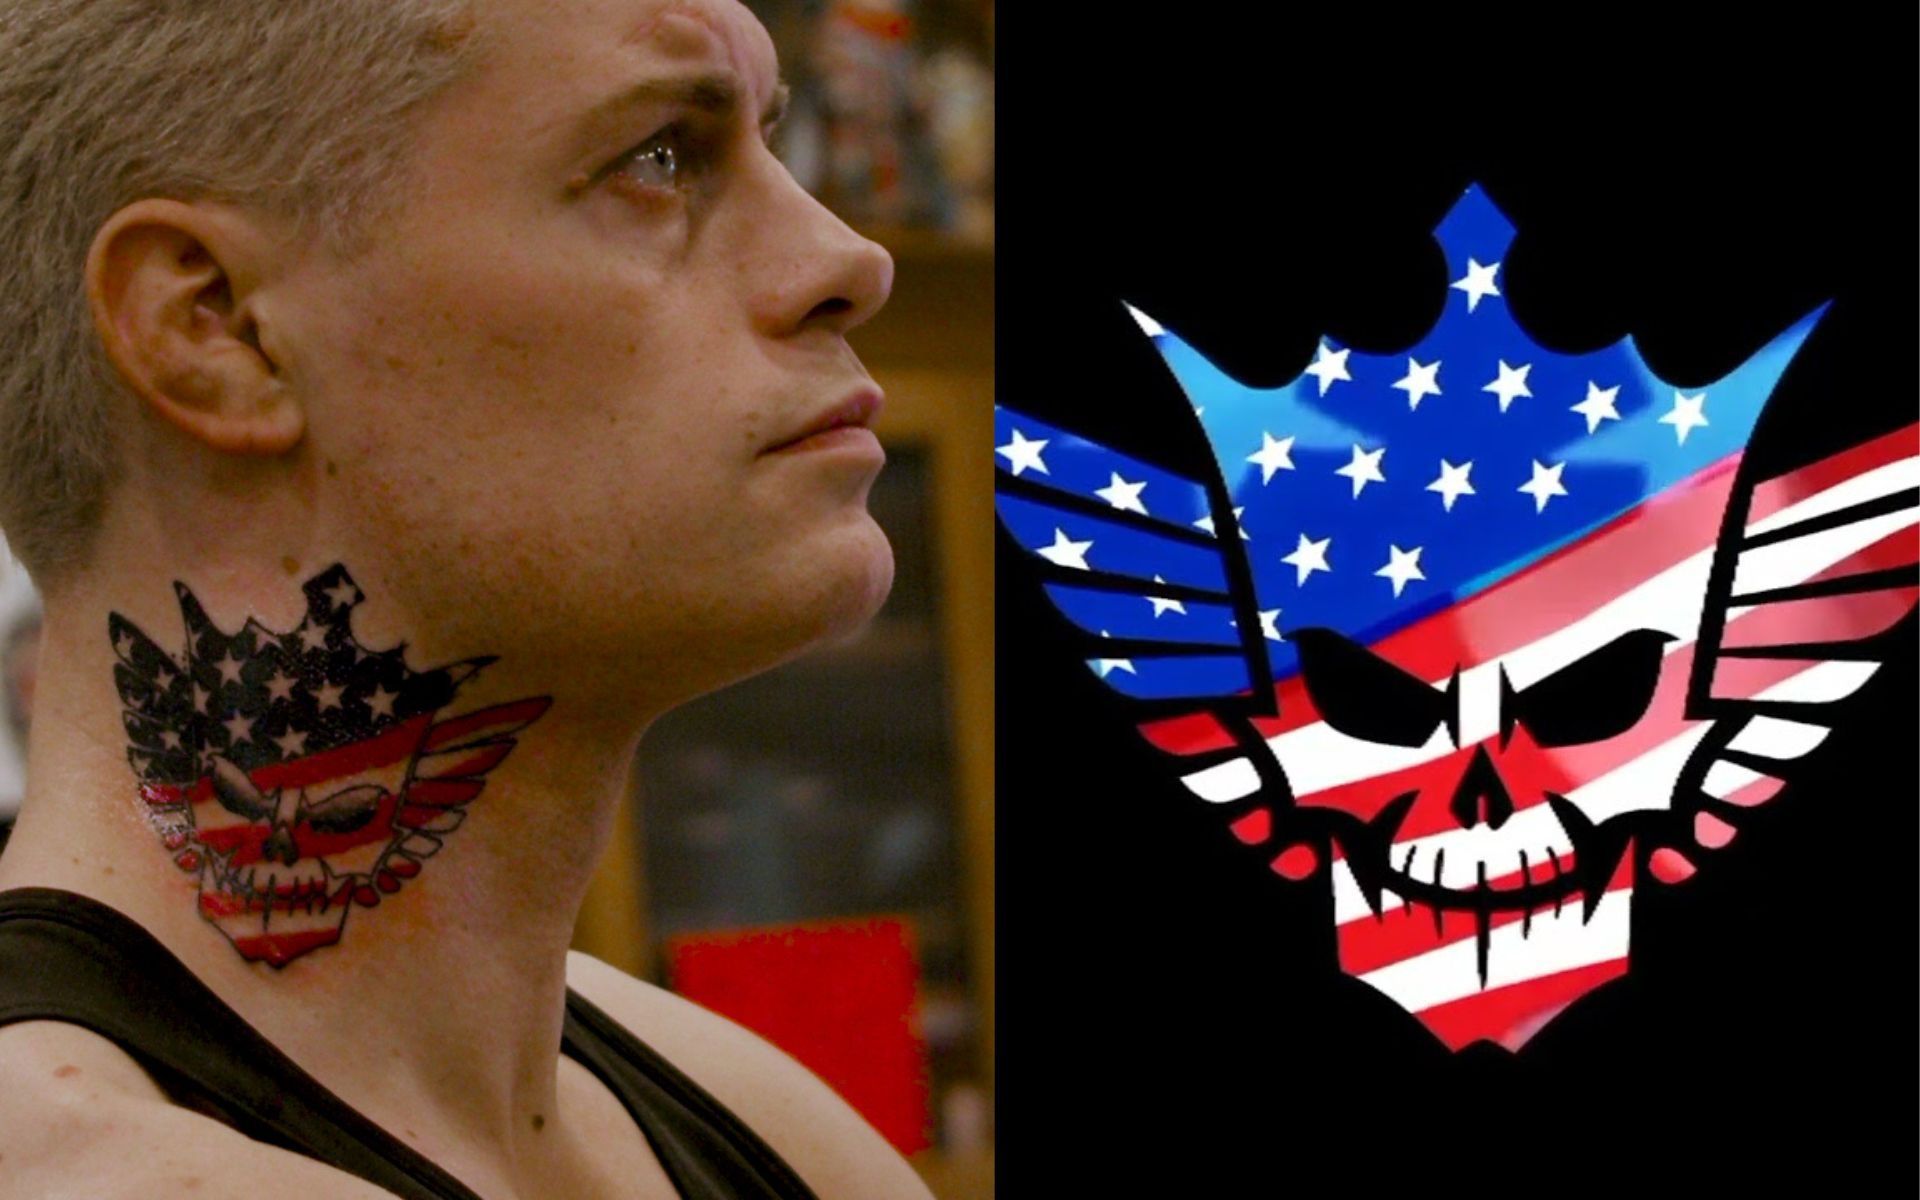
Okay, so I’ve been obsessed with Cody Rhodes’ “American Nightmare” logo for a while now. It’s just so badass and iconic, and I finally decided to take the plunge and get it tattooed. Here’s how the whole thing went down.
The Decision
First off, I spent ages looking at different placements. Should it go on my arm? My leg? Back? After a ton of Googling and looking at pictures, I decided on my upper arm. I wanted it to be visible, but also easily covered up if I needed to for, you know, professional stuff.
Finding the Artist
Next up, finding the right tattoo artist. This was super important, because I didn’t want some rookie messing up this masterpiece. I checked out a bunch of local shops, read reviews, and looked at their artists’ portfolios. I finally found this one guy whose line work was incredible—super clean and precise. His Instagram was full of awesome, detailed designs, so I knew he was the one.
The Consultation
I booked a consultation with him, and we talked about the design, size, and placement. I brought in a few printouts of the logo, just to be sure we were on the same page. He was super chill and gave me some great advice about sizing it to fit my arm perfectly. We even tweaked the design a tiny bit to make sure it would flow well with my muscle shape. It’s gonna look so sick!
Tattoo Day!
Finally, the day arrived! I was pretty nervous, not gonna lie. I made sure to eat a good meal beforehand and brought a sugary drink with me, just in case. The artist prepped my arm, shaving the area and cleaning it thoroughly. Then he applied the stencil—seeing it on my skin made it feel so real!
The Process
He started the tattoo machine, and honestly, the first few lines were the worst. It felt like a hot, scratchy sting. But after a while, I got used to it. We took a couple of short breaks, and he kept checking in to make sure I was doing okay. The whole thing took about three hours, which felt like forever, but also flew by.
- The Outline: He started with the outline, which was the most intense part, pain-wise.
- The Shading: Then came the shading, which was a bit more bearable. It gave the tattoo that awesome 3D look.
- The Details: Finally, he added in all the tiny details, which really brought the whole thing to life.
The Reveal
When he finally finished and wiped it down, I was blown away. It looked even better than I had imagined! The lines were perfect, the shading was on point, and it just looked so damn cool. He wrapped it up and gave me all the aftercare instructions—keep it clean, moisturize it, and avoid direct sunlight.
Healing and Showing Off
The healing process was pretty straightforward. I followed the artist’s instructions to the letter, and it healed up nicely. Now, I can’t stop showing it off! I’m so stoked with how it turned out. Definitely worth the pain and the wait.
It has quickly become one of my favorite tattoos i’m glad i went to get this done!


