Okay, so I decided to make some good soccer posters the other day. It wasn’t for anything super official, just wanted to capture that game day energy for a local club event we were helping out with. Felt like a fun little project to dive into.
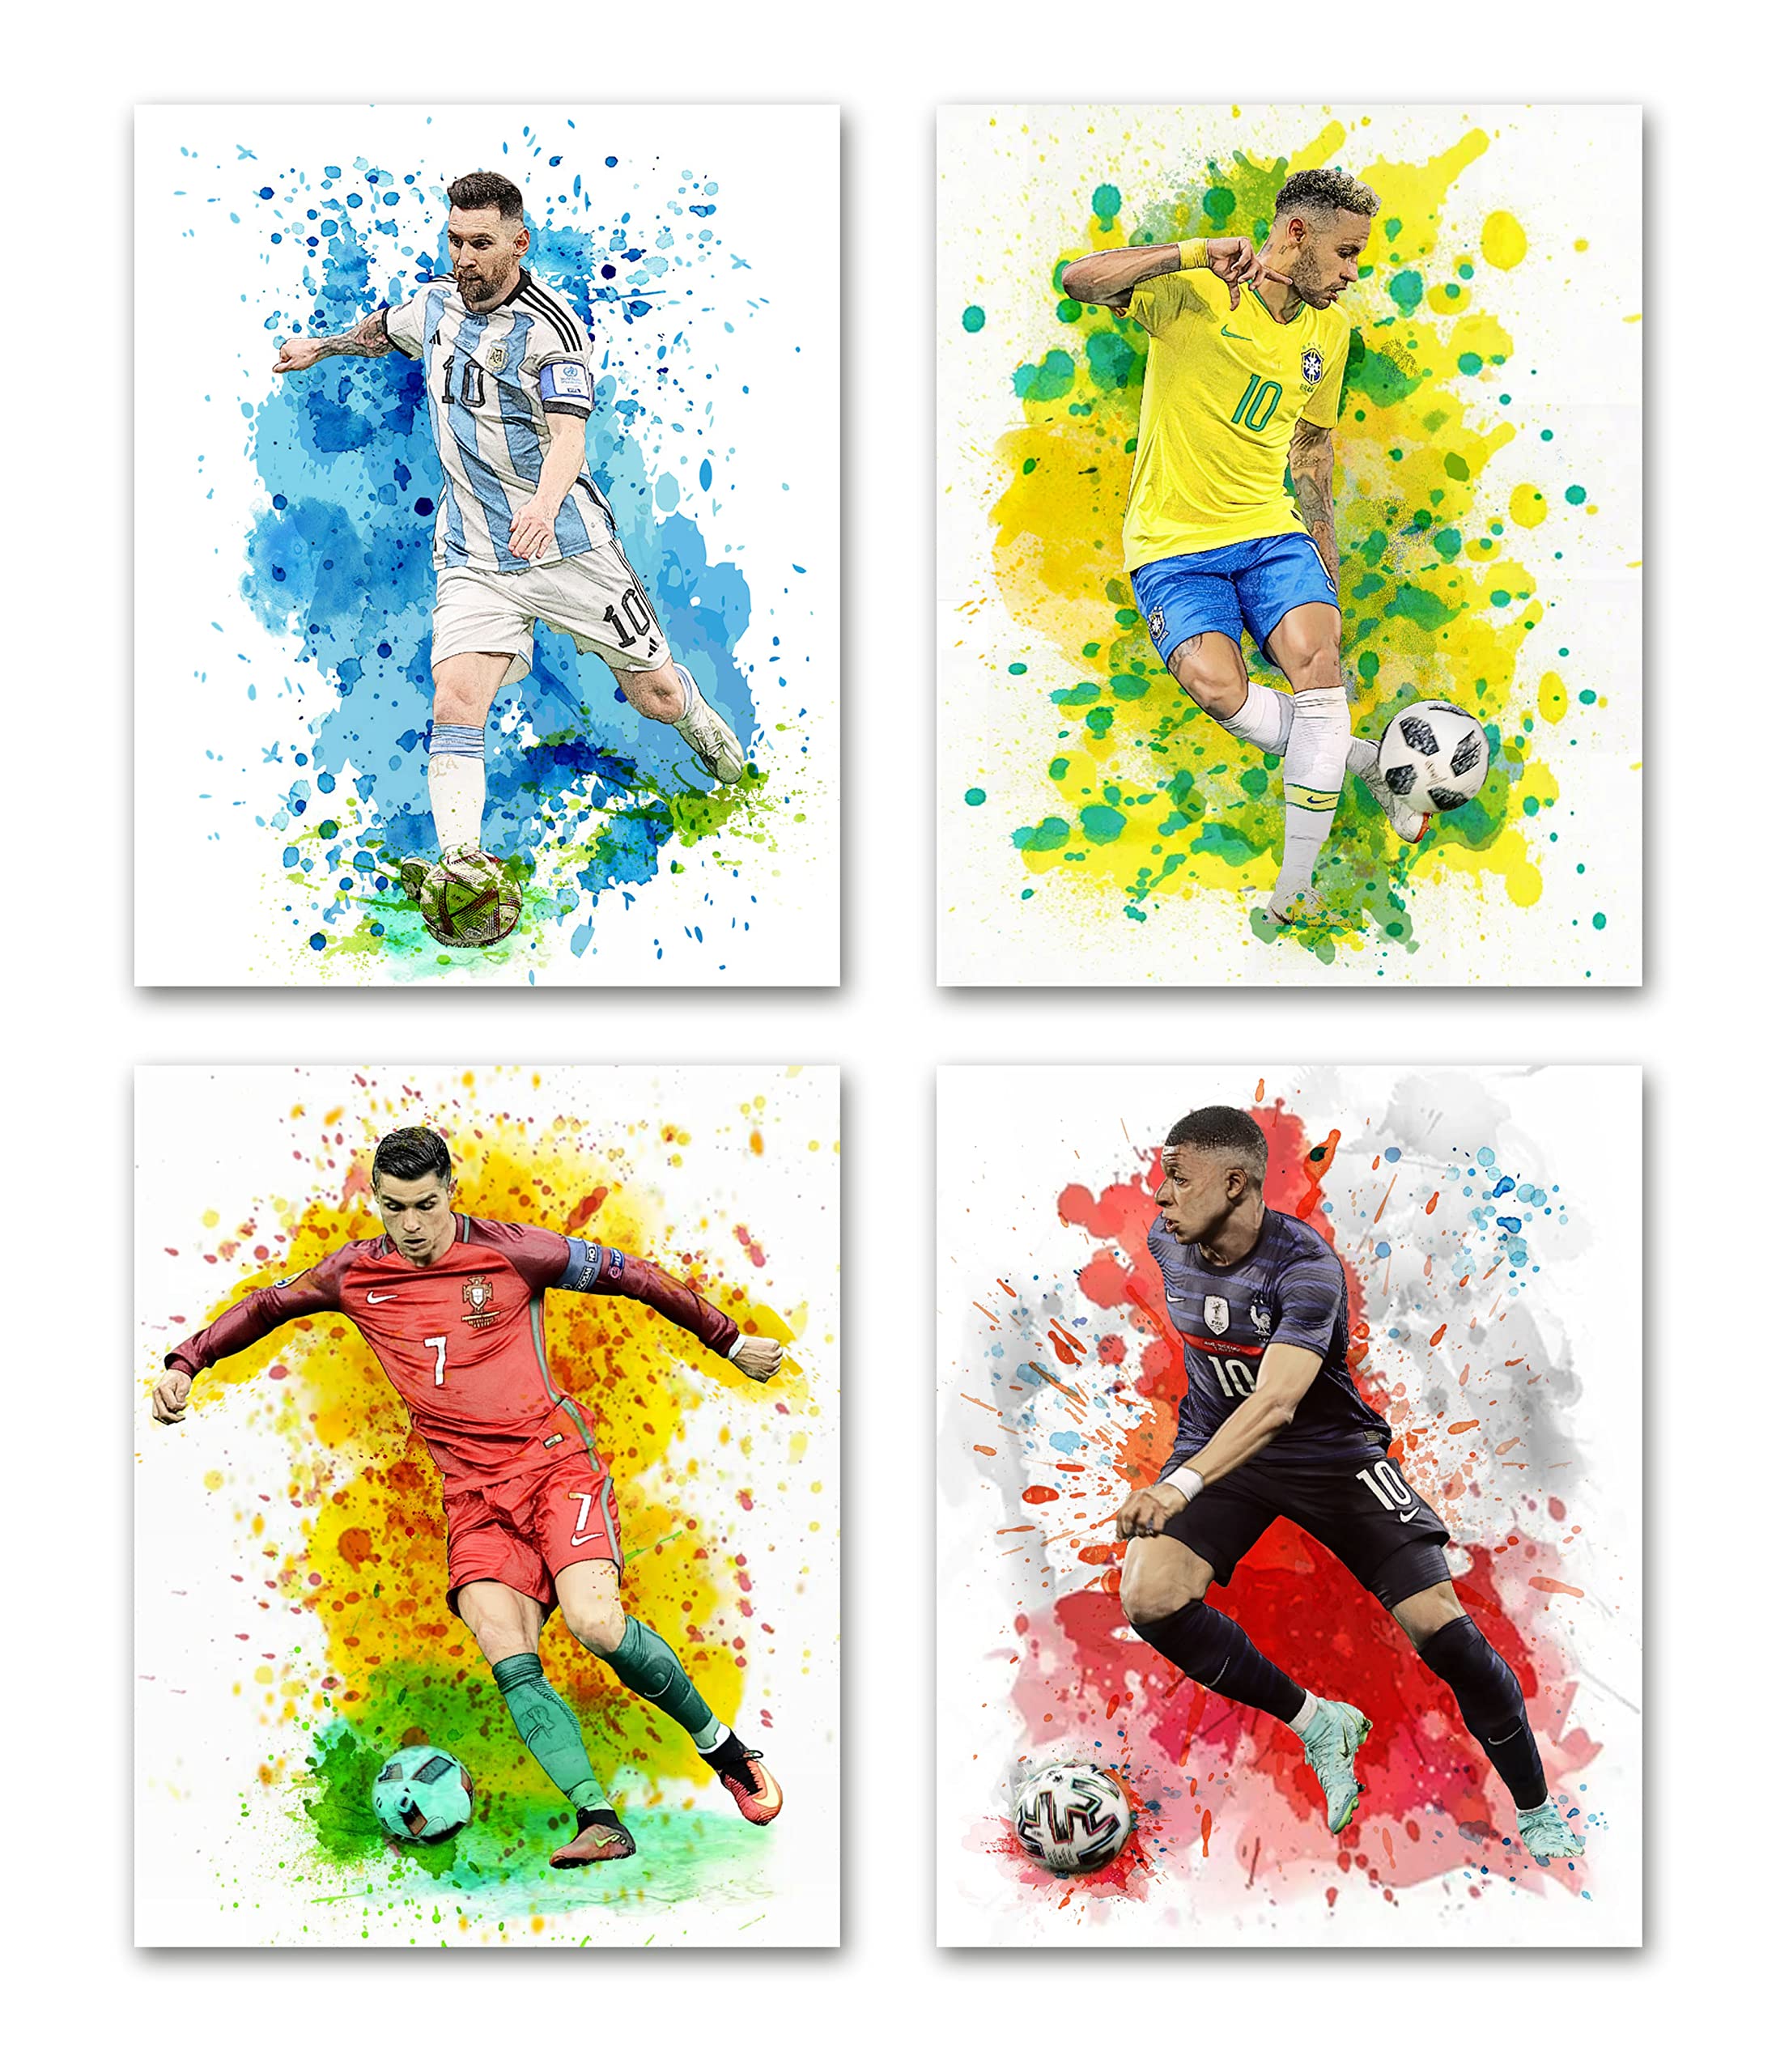
First thing I did, I just kinda soaked in the vibe. What makes soccer exciting? Speed, passion, the ball hitting the net, the crowd roaring. I scrolled through a bunch of existing sports posters online, not to copy, but just to get the brain juices flowing. Saw lots of dynamic shots, some really focused on one player, others more about the team or the event itself. I decided I wanted something punchy, full of action.
Getting the Pieces Together
Alright, next step was figuring out the must-haves. Needed the team’s name, obviously. And the event details – date, time, location. Gotta make that clear. Then, the visuals. I knew I needed a strong central image. Action shots always work well for soccer, right? Captures the movement.
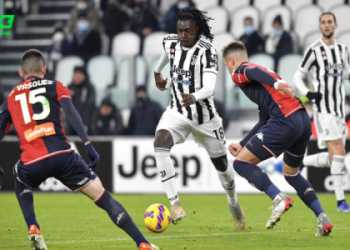
Finding the right pictures took a bit. I sifted through photos from their recent games. Looked for high-energy moments – tackles, goal celebrations, players sprinting. Resolution was key; blurry photos just wouldn’t cut it, especially if these ended up being printed big. I picked out a few top contenders.
Mapping it Out
Before jumping onto the computer, I grabbed a notebook. Did some really rough sketches. Like, super basic boxes and squiggles. Where would the main photo go? Where does the text fit best? Tried putting the text over the image, below it, maybe slanted. Just played around with compositions to see what felt balanced and eye-catching.
Then I fired up my usual design software. Nothing fancy, just what I’m comfortable with. Set up a standard poster size canvas to work on.
Building the Poster
Okay, time to actually make the thing. I dropped in the main action photo I’d picked. Played with the cropping quite a bit to make the action really pop. Sometimes zooming in makes a huge difference. I tweaked the colors slightly, boosted the contrast a little to make it more dramatic. You know, give it that intense game feel.
Next up, text. I slapped the team name on there, nice and bold. Found a strong, sporty-looking font for that. For the event details, I used a simpler, cleaner font – gotta make sure people can actually read the important info easily. Placed these bits where I’d roughly planned in my sketches, adjusting alignment and size until it looked right.
Color was important too. I pulled the main colors directly from the team’s logo and jerseys. Used those for the text and maybe some background elements or shapes. Helps tie everything together and keeps it on-brand for the team. Made sure the text had good contrast against the background or image so it didn’t get lost.
I added a few subtle touches, like a slight texture overlay on the background, just to give it a bit more depth than a plain flat color. Didn’t want to overdo it, though. The focus needed to stay on the action shot and the key info.
Finishing Touches
Once I had a version I liked, I stepped away for a bit. Came back with fresh eyes. Looked for anything weird, checked spelling (always double-check!). Made sure the most important info stood out. Maybe nudged things around a tiny bit more. You know how it is, fiddling until it feels just right.
Finally, I saved the final versions. Made sure I had a high-quality file ready, just in case they wanted to print them out large. Job done. Felt good to create something that hopefully gets people excited about the upcoming game.


